
You want a simple way to clean cat brushes. This guide makes it easy and safe. Regular cleaning stops skin irritation, lowers hair and allergens, and keeps your cat comfy. Veterinarians say clean brushes help your home smell better and make grooming smoother for you and your pet.
Why Clean Cat Brushes Regularly
Health and Hygiene
You want your cat to stay healthy and happy. When you clean cat brushes often, you help stop the spread of germs and parasites. Dirty brushes can hold bacteria and dirt. These can cause skin problems for your cat and even make you sick. Regular cleaning and disinfecting of grooming tools removes germs and lowers health risks for everyone in your home.
Tip: If you have more than one cat, cleaning brushes between uses helps prevent sharing parasites or infections.
Brushing with clean tools also improves your cat’s skin and coat. Here’s how regular grooming helps:
Stimulates natural oils, making your cat’s coat shiny and soft.
Gets rid of dirt that can cause allergies or health issues.
Daily brushing with clean cat brushes means less hair on your furniture and less fur your cat swallows. You keep your home fresher and your cat feeling great.
Tool Effectiveness
Clean tools work better. If you let hair and dirt build up, your brush won’t glide through fur smoothly. You might even scratch your cat’s skin. When you follow this guide and clean your brushes, you make grooming easier and more comfortable for your pet.
A clean brush lasts longer. You save money because you don’t need to replace tools as often. Your grooming sessions become quick and stress-free. Your cat will enjoy the process, and you’ll notice a difference in their coat and mood.
How to Clean a Cat Brush
Keeping your cat grooming brushes clean makes every grooming session easier and safer. You want your cat to enjoy brushing, and you want your tools to last. This guide shows you how to clean a cat brush step by step, so you can keep your grooming tools fresh and ready.
Remove Hair and Debris
Start by getting rid of all the loose hair and dirt stuck in the brush. You can use your fingers, but sometimes hair gets tangled deep in the bristles. Here are some handy tools that help:
Lilly Brush Pet Hair Detailer: This small tool has a rubber blade. You use downward strokes to pull out embedded hair. It works well on tight corners and different surfaces.
FurDozer X3: This eco-friendly tool reaches deep into the brush and pulls out stubborn hair. It is reusable and easy to clean.
Lilly Brush Mini Pet Hair Detailer: This flexible tool is great for small brushes and tricky spots.
If you see a lot of hair, try using these tools before you move on. Removing hair first makes the next steps much easier.
Tip: Always remove as much hair as possible before soaking your brush. This keeps the cleaning solution cleaner and helps you get better results.
Soak and Scrub
Once you have removed the hair, you need to soak and scrub the brush. You want to use safe cleaning solutions that will not harm your cat or damage the brush. Here are two good options:
Mix equal parts vinegar (white or apple cider) and water.
Add two or three squirts of pet shampoo to a bowl of warm water.
Put the brush bristles or comb teeth in the solution. Let them soak for five to thirty minutes. If you see a lot of caked-on debris, let the brush soak longer in warm water with gentle soap. After soaking, use a soft cloth or an old toothbrush to scrub between the bristles. This helps remove any leftover dirt or oils.
Note: Never use ammonia, bleach, phenols, formaldehyde, phthalates, or quaternary ammonium compounds. These chemicals can harm your cat and damage your grooming tools.
If you care about the environment, choose cleaning methods that use less waste and avoid harsh chemicals. Many brush handles are made from recyclable plastics. You can compost the hair you remove, which helps reduce landfill waste.
How to Clean Slicker Brush
You might wonder how to clean slicker brush types, since they have fine wire bristles. Here is a simple routine you can follow:
Remove the hair. Use your fingers or a detailer tool to pull out all the fur.
Gather your supplies. You need lukewarm water, gentle soap or pet-friendly shampoo, and a soft cloth or old toothbrush.
Dip the brush in lukewarm water. Apply soap and scrub between the bristles. Make sure you reach every part.
Rinse the brush under lukewarm water. Shake off extra water.
Let the brush air dry with the bristles facing down.
If you want to know how to use a slicker brush, always brush gently and avoid pressing too hard. This keeps your cat comfortable and prevents scratches. You can use this cleaning routine for slicker brushes every week or after heavy use.
Tip: If you have more than one cat, clean a cat brush between uses to prevent spreading germs or parasites.
Dry and Store
After you finish cleaning, you need to dry and store your brush the right way. Shake off any extra water. Place the brush bristle-side down on a clean towel. Let it air dry completely before you put it away. If your brush has a self-cleaning button, use it to retract the bristles and remove trapped hair.
Store your brushes in a dry place. This helps prevent mold and keeps your grooming tools in good shape. If the brush gets wet, make sure it dries fully before you use it again.
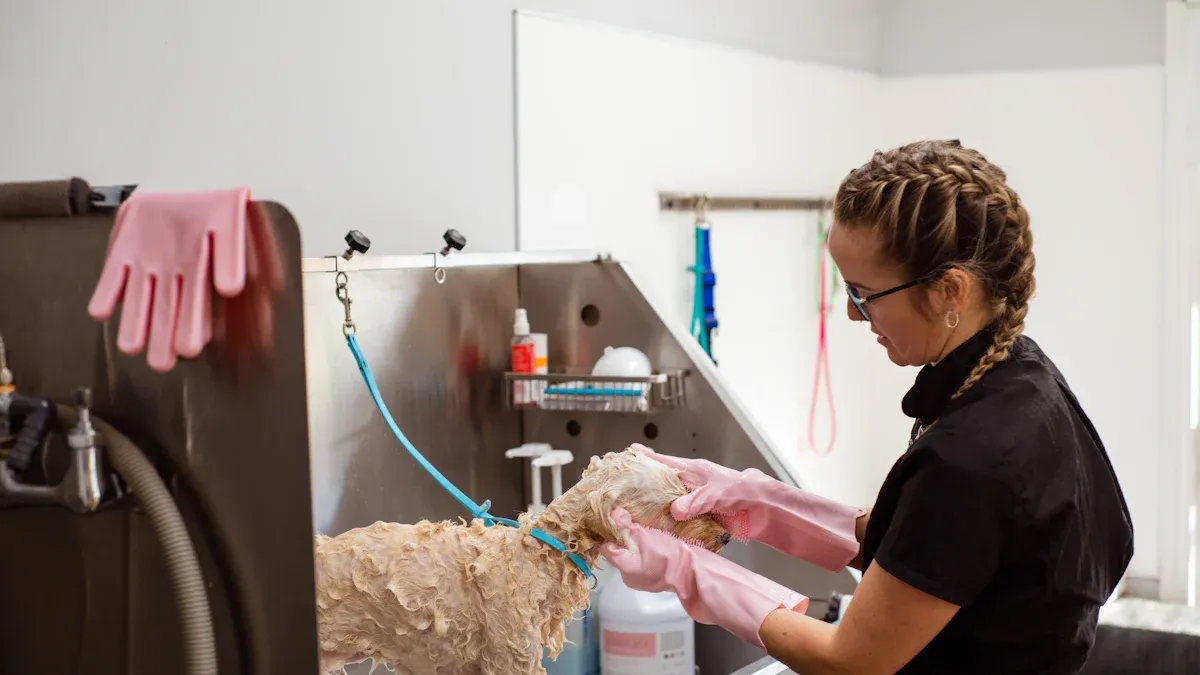
Safety tip: When cleaning grooming equipment, wear gloves or arm protectors to avoid scratches. If your cat gets nervous, wrap them in a towel for control. Always watch your cat’s body language to keep everyone safe.
You should clean cat brushes at least once a week if you groom your cat often. If you notice a lot of hair or dirt, clean a cat brush more often. Regular cleaning keeps your tools working well and your cat happy.
How to Clean a Complete Cat Grooming Kit
Clean a Cat Brush
You want your cat grooming kit to stay fresh and ready for every grooming session. Start with your cat brush. First, pull out all the loose fur and dirt. Use your fingers or a small cleaning tool. Next, soak the brush in warm water mixed with a little pet shampoo or vinegar. Let it sit for about ten minutes. Scrub the bristles with a soft cloth or toothbrush. Rinse the brush well. Shake off the water and let it air dry with the bristles facing down. Store the brush in a dry spot.
Tip: Clean your brush every week if you use it often. This keeps your grooming tools working well and helps your cat feel comfortable.
Maintain De-Shedding Tools
De-shedding tools need special care to stay safe and effective. You should clean the deShedding edge with warm water and mild soap when you see dander or hair building up. Regular cleaning stops dander from collecting on the teeth and keeps the tool working smoothly.
Clean as needed, especially after heavy use.
Use warm water and mild soap.
Dry the tool completely before you put it away.
If you want to know how to clean a complete cat grooming kit, make sure you check each tool after every grooming session. Wipe down handles and metal parts. Keep everything dry to prevent rust or mold.
Keeping your cat grooming kit clean means your cat gets a safe, gentle grooming experience every time. This guide helps you keep your grooming tools in top shape.
You keep your cat happy and healthy when you clean grooming tools regularly. This guide shows you how often should cat grooming tools be cleaned for best results.
Improves muscle tone
Deepens your bond
Prevents matting
Grooming becomes a calm, caring routine for both of you.
FAQ
How often should you clean a pet brush?
You want to clean a pet brush at least once a week. If your cat sheds a lot, you can clean it more often.
Can you use dish soap to clean cat brushes?
You can use mild dish soap. Make sure you rinse the brush well so no soap stays on the bristles.
What should you do if your cat hates grooming?
Try brushing for short periods. Use treats and gentle strokes. You can make grooming a positive experience with patience.